
 Custom Search
|
| boat plans |
| canoe/kayak |
| electrical |
| epoxy/supplies |
| fasteners |
| gear |
| gift certificates |
| hardware |
| hatches/deckplates |
| media |
| paint/varnish |
| rope/line |
| rowing/sculling |
| sailmaking |
| sails |
| tools |


| join |
| home |
| indexes |
| classifieds |
| calendar |
| archives |
| about |
| links |
| Join Duckworks Get free newsletter CLICK HERE |
|
|
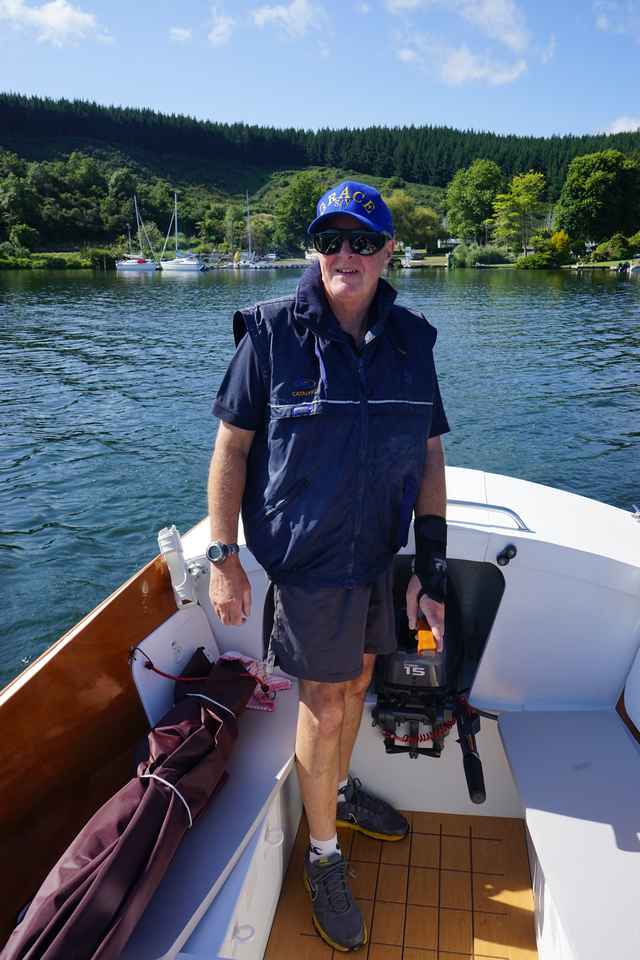
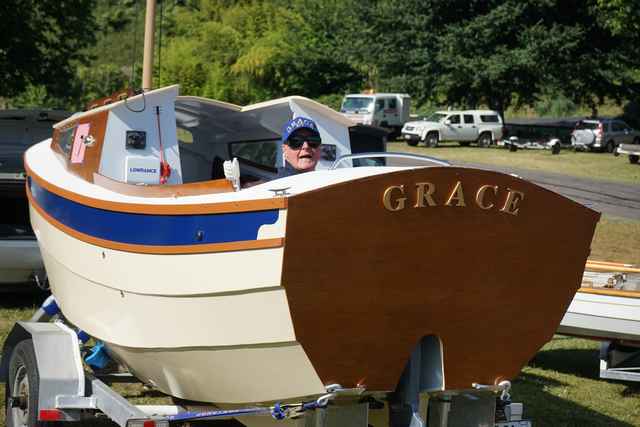
| Grace |
by Grahame Harris - Tauranga - New Zealand |
After using my Welsford Truant (a 12 foot sailing dinghy) [see my earlier duckworks articles] for cruising over 6 summers, I determined that I needed another, larger vessel. A list of criteria started bouncing around in my head:
In 2011, thoughts turned to what design. It just had to be another Welsford, as I was so pleased with my little 'TruantSea'. The new SCAMP was too small, SWEET PEA seemed perhaps too big and maybe too complicated in the rigging, a NAVIGATOR/PATHFINDER with cabin likely required a lot of extra design/build work. TREAD LIGHTLY appealed but seemed just a tiny bit too small. Perhaps some small changes would make it work for me? Some specific design changes then came under the spotlight:
Hmmmmm, I might be onto something here… A number of emails and calls to the long-suffering John Welsford ensued, seeking his advice and hopefully his 'approval' to change his design. I won't say I received his approval, nor was there flat disapproval. To some extent John felt most of what I wanted was 'do-able', possibly without negatively affecting TREAD LIGHTLY's handling or performance. Plans were bought and all measurements scaled - 20% more length, 15% more beam and height. I tried drawing the new proportions with 20% length only, but she seemed 'skinny' - not the plump duckling her original proportions invoke. Dimensions were checked and re-checked. Twice! Building started late 2011, with the strongback, floor panels and a few frames drawn and cut out over the following few months. Then house renovations, work and family got in the way for 6 months or so, with no further progress. Work on my upsized TL resumed and by January 2013 the centrecase, all frames, centreboard and lifting gear, plus some epoxy gluing were done. In July that year all frames were glued to the bottom panel and the stringers were fitted. Amazingly none broke and the measuring seemed to go smoothly. At this point we had bought a different house, so for the move I hastily attached 3mm MDF panels to the skeleton, to keep things straight and true. After the move, it took until December 2013 to get the new house in order and get back into the build.
The hull planking was cut using the MDF as templates and glued to the frames using 3 lengths of 9mm ply per chine, alternating the join placements for strength. The lengths were joined end to end with butt blocks extending 100mm past each joint. The panels were filleted with thickened epoxy mixture to both top and bottom edges of each stringer on the inside of the newly formed hull ensuring strong, leak-free joints. The frame in front of the transom was cut out and five layers added here to allow the outboard to be mounted. Frames for the 2 ballast tanks were measured, cut and epoxied in place on either side of the centrecase. Next came the filleting of the planking joints on the outside. Off the strongback, hanging from the rafter on webbing straps, the hull was rolled over, skegs cut from South American hardwood (Tatajuba?), then 10oz fiberglass cloth was epoxied to the hull bottom, skegs and first chine panel. The whole exterior was sealed with thinned epoxy mixture and 2 coats of single pot primer enamel applied. The hull was turned again and sat on the garage floor, proper way up. She looked like a real boat and now measured just over 16 ½ feet. Using a batten, I established the roofline for the cabin and set about testing head heights and curvature and stuff (there were no plans for the cabin/roofline). Inwhales, deck lines, cabin sides (with windows), cabin front and front windows were formed and glued in place by June 2014. Over the next few months ballast tanks, floorboards, cockpit seats and lockers followed. All custom built, drawn from scratch and cut to fit the spaces to be filled. I developed new measuring, shaping and cutting skills quickly to accommodate. Then I got really creative. I bought a cheap plunge router and designed a non-slip pattern for the cockpit floor. It turned out really well and was actually very straightforward to do. While all this was going on, there was the matter of the rudders. In order to have the outboard driving the boat from the centreline of the hull, there either had to be a single rudder in front or behind the motor. Neither option suited, so I opted for twin rudders - in line, but aft of the skegs, sitting to port/starboard of the outboard leg. I drew my thoughts on paper and approached the first engineering shop. "Of course," they said, "No problem". But 4 weeks later - no result, and no likely manufacture date. I gave the second outfit I went to, 3 weeks before putting a little pressure on them for a result. They too pulled the plug. 5 days before Christmas 2014, I approached one of my customers - an aluminium boats maker. "Sure, no worries to make them- we'll have them done by Friday!" Oh no not again, I thought. But, sure enough, Kim and one of his team from 'Alloy Cats' delivered the shiny new rudders on their last work day for that year. Yay. The completed hull was hoisted and turned again, three coats of high-build undercoat and 4 coats of enamel marine gloss applied solely with rollers, with brush only used for 'cutting in', over a 3 week period. The hull was turned back upright for the last time and the inside painted with a total of 5 layers of enamel. All the areas that would not be accessible later (ballast tanks, lockers, seat undersides etc.) were all earlier epoxy sealed and painted during their build process. The windows were put in, pumps etc. fitted and the outboard fitted in place. Before planking up the hull, I had fitted 45mm PVC pipe down both sides under the gunwhales. These pipes allowed an easy run for wiring to be fitted from battery up front, to all devices, switches and lights. GRACE is really 'pimped out'. I have 2x ballast pumps, bilge pump, navigation lights, 4x LED interior lights, Anchor winch (Maxwell brand), Lowrance GPS/Fish Finder, wind sensor, battery meter and loads of 12v outlets and USB power sockets. The alloy rudders were fitted a few days after Christmas and the after deck sealed off. A local sailmaker had sewn the lugsail from 5.5oz Dacron to dimensions approximately 15% larger on all 4 sides. I had also procured offcuts of carbon fibre tubing for mast, yard and boom from a local manufacturer at a fraction of the cost of wood or aluminium materials only. It's so light and works really well. The two rudders with connector bars and tiller were added mid-January and runners for the roof hatch fitted. The hatch lid was added and stainless steel hull fittings, hoses, tubing, cleats and vents all fitted and sealed. She was now basically done and was hoisted onto the re-furbished trailer I had bought 2 years earlier. Rollers and pads were aligned to make good contact with the hull for support.
Finally, Grace hit the water for the first time on 24th January 2015. She floated - a little high, but no leaks. I motored her up and down the harbour for 30 minutes - with and without the water ballast. So far - so good. I'll update my findings on Grace's performance, in due course. |
To comment on Duckworks articles, please visit one of the following:
|


 |