 |
Bill Sez:
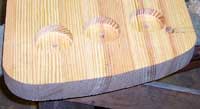
Here are some pictures of the centerboard blank. I decided to change up a little here too - notice the smaller hole/s by the large 3" holes |
|
I decided to put a "tail rope" for lifting the centerboard and "cap" the trunk instead of leaving it open, as the plans call for. All it now likes is the lead and shaping and finishing.
(Bill's centerboard blank is glued up Cypress) |
|
Also decided to drill the 3" holes "partially" through from each side, fill with lead and then put a bolt through the center to secure each one and then encase in epoxy. I just feel like it will be a little more secure, so as not to "easily" lose the weight. |
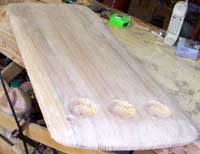 |
I know this is not balast, and only "hold down" for the center board, but just thought it might be a little better and it does not change the integrity of the craft.
(in this photo, Bill has shaped the blank) |
|
in this picture, the weights have been added and a coat of epoxy applied. |
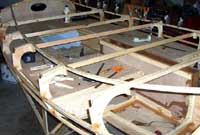 |
Also got all the "first" layer of stringers run on the bottom of the hull and the seat stringers run.....started on the second layer bottom stringers, and will probably get the rest done by weeks end. |
|
Before he gets too far along, Bill takes time to apply some paint to what will be flotation or storage compartments. these areas will be very hard to reach later on. |
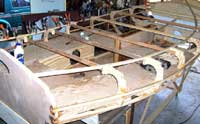 |
Here you can see the temporary braces that connect the tops of the bulkhead frames. Once the planking is on, the boat will stiffen up and these can come off. |
|
Bill is departing from the plans by planking the hull upside down. many designers specify doing this and others, like John, recommend doing it right side up. Bill is an experienced builder and will do fine - call it builder's preogative |
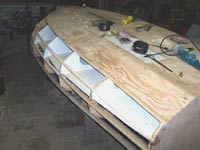 |
Once the boat is planked, the hull can be glassed and even finished up to the gunwales. Then it is turned back over to finish the interior. |

