|
Rifleman 5 |

|
|
By Chuck Leinweber - Harper, Texas USA |
By the end of part 4 of this series, we had the wood work basically done on the Rifleman. All that was left was painting the rest of the interior and decks. When the painting and trailer prep were done and rubrails applied, Bonham came for a weekend and we did a marathon session of mounting the 25 horse Mercury 4 stroke outboard and water test.
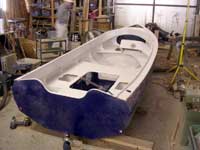
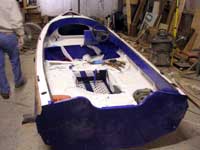
I applied a coat of primer to the entire interior ahead of the porch and floor paint. I found later that I should have used a tinted primer where blue would be.
(click images for larger views)
|
|
|
 |
I masked an area of the fordeck for non-skid. I used some stuff that we will soon carry in our store - it has the same specific gravity as paint so it neither settles nor floats in the paint. You mix it in and it stays suspended, making it simple to apply.
|
|
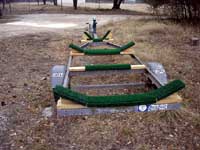
| I built some simple bunks by glue-assembling them right under the boat, then screwing them together and bolting them to a used trailer. |
|
|
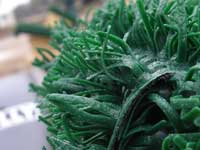 |
I covered the bunks with Astroturf. It is very slippery and makes launching and retrieving easy. I buy the green (there are other colors) welcome mats from Wal-mart and cut them into strips. |
|
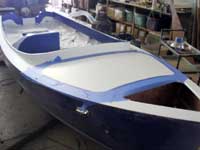
| I got a nice piece of African Mahogany for the rubrail. it was $60 for a 15 ft 1x4 - more than I would spend on a boat of mine, but it did look nice when it was trimmed and varnished. |
|
|
 |
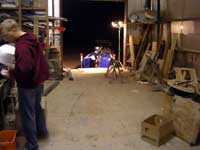
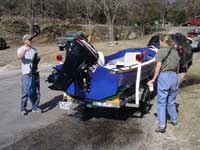
I was waiting for Bonham to help me lift the 175 pound outboard onto the transom so we could mark the holes for the mounting bolts. That done, we removed the OB, drilled and epoxied the holes and... |
|
| ... moved the boat outside onto the trailer. Next we remounted the motor and began to connect the steering and the rest of the motor controls. No pictures of moving the boat since Bonham and I were by ourselves that night. |
|
|
 |
The next day was splash day, so we ignored the sawdust on the bow and started working on all the other things that needed to be done. |
|
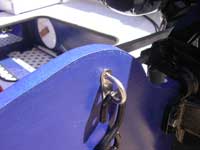
| in the picture above you can see that the bow eye is quite a bit higher than the winch. We needed to raise it so found a rusty piece of box beam and drilled that to bolt on. The rest of that bow stop/winch assembly came from another trailer. |
|
|
|
The next day was splash day, so we ignored the sawdust on the bow and started working on all the other things that needed to be done. |
|
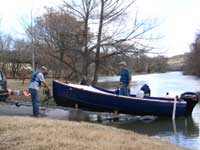
| After lunch, we took the boat to a small, local impoundment. Bonham unhooked the winch and gave her a shove. We slipped easily off the bunks and the motor started on the first crank. |
|
|
 |
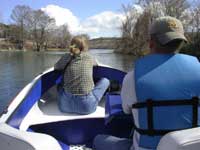
With that sawdust still on the bow, we headed out into the lake to see if it would go. We got 22 mph with the bow up a bit. It needs some adjustments to the motor angle, but it did not pount a bit. |
|
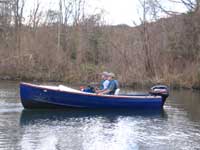
| The speed swung Bonham's hat around backwards on the first run but he wanted to see how fast it would go with just him, so I gave him a quick GPS lesson and sent him back out solo. |
|
|
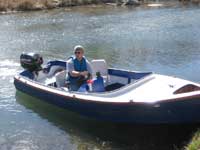 |
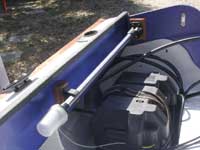
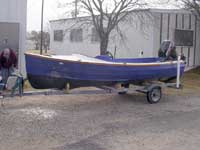
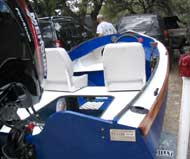
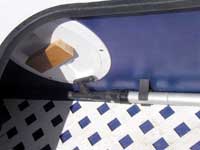
He was able to clock an honest 30 mph that time and seemed satisfied. in this shot you can see the horn, the base for the depth finder and the 7 cleats around the deck. At the very rear of the side deck is a rod holder - this is a fishing boat, after all. |
|
| Next, all three of us went for a ride. About the only thing we could find wrong with the boat was the backwards steering. I had assembled the rack and pinion wrong and it was tricky to run that way. Sandra liked the bow seat. |
|
|
 |
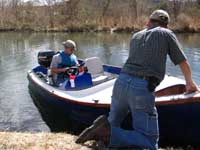
The worst part of having the boat go left when you steer right and vice-versa is when you go to drive it up on the trailer. I had to serve my penance by climbing out on the trailer to get the boat straight. I continued to ignore that sawdust on the bow. |
|
| I forgot to mention that we had made some goal posts for the trailer from 2" PVC pipe. We heated the ends and flattened them - then drilled mounting holes for standard trailer lights. It seemed to work fine. |
|
|
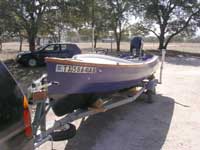 |
Back home, we had time for a few more details - like applying the huge Texas registration numbers on both sides of the bow.... |
|
| ... and apply the shiny mylar HIN to the transom. What ever happened to those cast bronze ID plates? |
|
|
 |
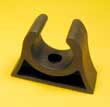
We had a little time, so we added wooden handles to the screw-out deck plates - this made these much easier to open and close. We also mounted pole clips to hold the boat hook. |
|
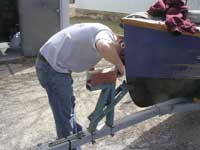
| To make it easier and neater to hold the boat down on the trailer, we installed these stainless U-bolts on either side of the motor. |
|
|
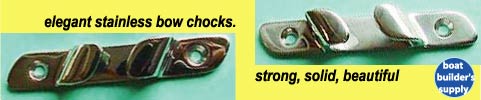
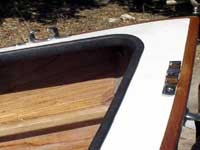
| We probably should have mounted the bow chocks right on the rubrail. I told Bonham he should get the inside of the anchor well sprayed with that truck bed liner material. |
|
|
|
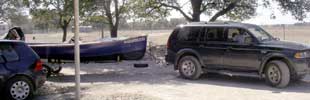
Finally, Bonham hitched the boat to his Montero and headed back to East Texas. |
|
|