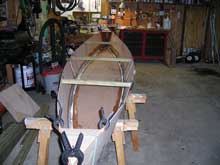
Early spring I was looking for a canoe that I can use with my 8 and 10
year old boys for fishing. Afer some search I ended up at bateau.com's free
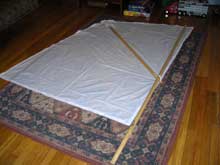
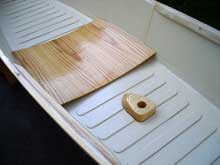
canoe plan. I went to work as soon as I printed the plans. I made three
little modifications to the plan though. First I glued little pices of 1/4"
plywood to the floor to stiffen it in case the kids decide to jump into the
canoe while it is still on the ground. Second, I put a mast step in, which
I made out of a pice of 2x4 and drilled a 1 1x4" hole in there for the mast.
For mast I used a 10' piece of curtain rod that I bought from Home Depot.
Third, I put a small section of inwale near the mast step, where I was going
to attach the leeboard.
 |
(click images for larger views) |
 |
|
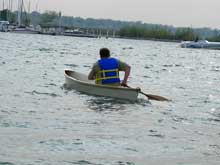
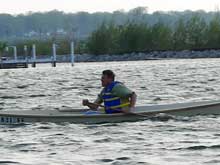
After the first trials, I realized that the canoe was a single person canoe,
the beam was more like kayak beam than a canoe width and therefore very tippy if I sat
anywhere else other than the seat position. Finally, the canoe had very
little freeboard for any load or sailing. I decided to fix some of the
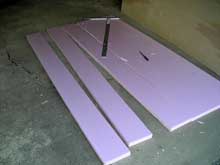
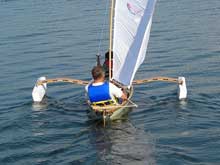
problems. First, I built an outrigger out of 1 1/2" thick pink insulation
foam from Home Depot. I cut the width of the foam, that is 4', by I believe 8"
wide, three strips. Since I did not want to cut intot he hull for a daggerboard, reducing the litlle space we had in there, I decided to combine the floats
with some fins that will act as leeboards. I pretty much eyeballed
everything there, since I did not find any plans of such on the web. I
covereda ll wood with West System's resin and glued everyhing too. The voids
between the foam and the fins I filled with "Great Stuff" insulation foam
that can be sprayed in. After the floats were shaped to form, I covered them
with fiberglass and resin, then painted it with some outdoor white paint.
 |
|
 |
|
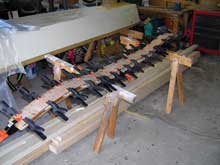
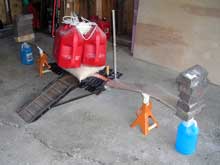
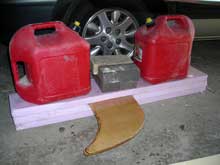
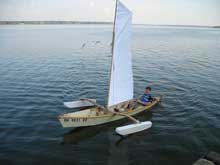
The outriggers I made out of the full length of a 4'x8' 1/4" plywood. I cut
4 strips of 4" wide 8' long wood, and glued two and two together with resin,
the put weight on in the middle and in the end sections, then raised it with
a carjack in the two third section of the length. This gave me a nice curved
outrigger, that I could use for sandwiching in some wood. In the middle I cut
a nice 1 1/4" hole for the mast. The plan was to have a bottom plate under
the outrigger to sandwich the inwale - this securing it to the canoe.
As I said, I eyeballed things, did not measure too much.
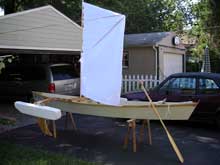
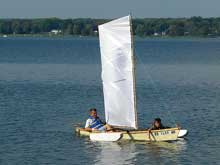
I sewed my sail out of ripstop nylon that I bought in our local fabric
store. The sail turned out to be too small for the boat, nevertheless, it
sailed just fine in a bit stronger winds. I used three halyards to stiffen
the mast so it does not bend too excessively. Later, I built a leg-o-mutton
sail out of polytarp, which was very powerful, but I did not like the blue
tarp sail, as it looked too cheap to me.
My rudder is really a canoe paddle with hinges, that I attached to a "V"
shped 3" wide aluminum that I fabricated. The "V" shaped aluminum had two
good size hole drilled in there that I hooked bungee cords into to hold it
to the canoe's rear thwart.
The project was interesting, I learned a lot about resin and working with
plywood. Unfortunately, none of my modifications fixed my oversight when I
built the canoe. First, there was never enough room in there, second, the
freeboard was never raised and under load was dangerously low. Stability,
on the other hand was exceptional with the 8' outriggers. Since, at the end
of summer I was still without a fishing boat, I decided to build another
boat that will have enough load capacity and room.
|