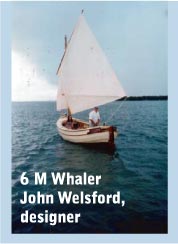
|
Working definition of amateur boatbuilder: can build what he wants and doesn't have to sell it when done.
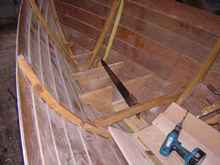
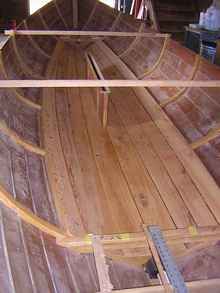
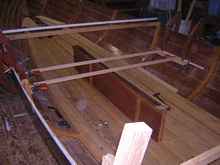
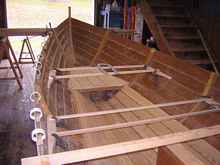
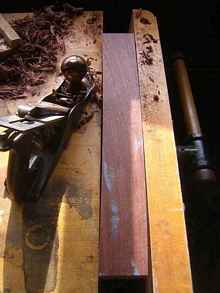
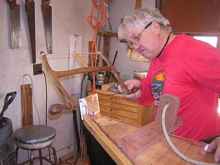
In the 6th installment of building the Keuka Whaler we finished with the fitting of all the floors. Now come the floor boards.
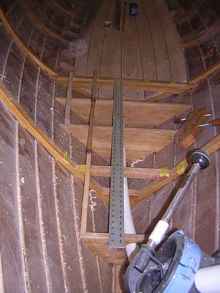
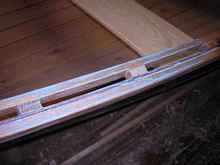
The floor boards comprise the main floor in two sections and the bow and stern sheets. The end floors in the "sheets" are straightforward except for the joggling around the run of the laps and frames. There are a variety of ways of fitting these; I have shown one. Based purely on looks it is nice to have the boards roughly the same width; in order to do this and have the proper landing at the floors some taper may be necessary.
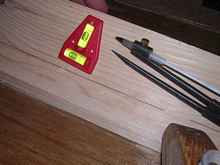
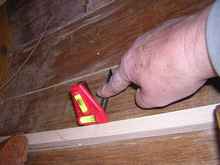
Experiment with battens, rulers, pieces of tape, whatever you have on hand. Chalk laid on along the lap can help show you how the fit is coming at the edges.
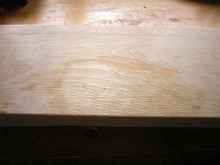
Rub the floorboard against the lap, and the chalk will show where it is touching.
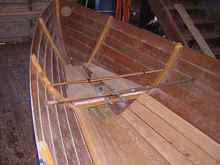
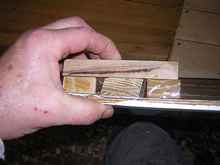
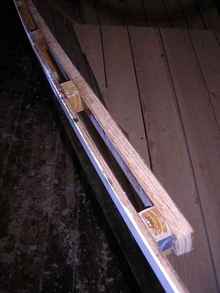
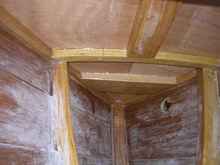
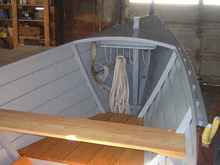
P3 shows the stern sheets prior to the cut-out for the bilge pump. The bow sheets are similar except for the removable center board that covers the mast step ramp.
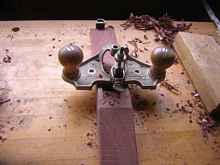
The floors in the main hull follow the run of the underlying planks and are spiled in the same way. The two center boards are flat, but the upper three on either side have a twist that requires steaming. This wood is 3/4 hemlock.
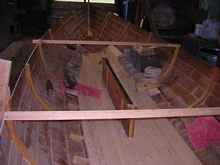
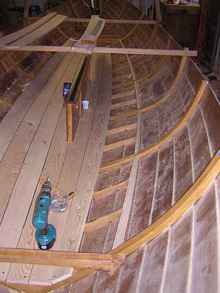
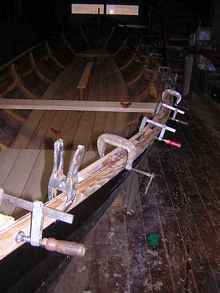
Use whatever you have on hand to hold them down while they dry. The outside plank has a fill piece between the ribs.
These are cut to the curve of the hull and screwed to the edge of the last floor.
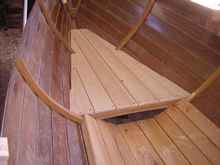
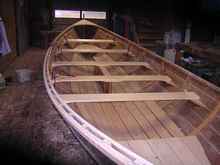
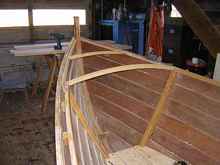
The seats rest on seat risers that are glued to the hull. The wood here is hemlock again and made up of two layers laminated to resist cracking. The first seat fitted was #3, resting on the centerboard trunk; the risers were scribed for bevels and fit against the hull using plank clamps, with athwartship runners to insure that the landing surfaces were level.
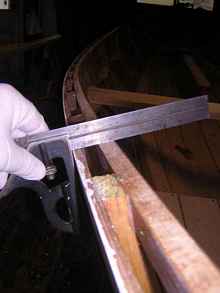
A small spirit level helps with the edge curve scribing and bevel.
When the fit is done, cut a decorative tail and bevel the riser to match the forward rib. All the seats were done in the same way.
That metal hinge is for erecting the mast. It will be installed later so I can judge the angle and straightness of the mast from outside.
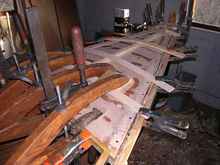
P13 shows all the thwarts in place and the finished under seat bevels that make the seats look more elegant. Thwarts are 1-1/4" pine. The risers on seat one and two in the bow also have small knees below them to provide support for the mast step at these locations; these are just visible in P13.
With these seats now fixed, I fit the mast steps at thwarts 1,2 and 4.
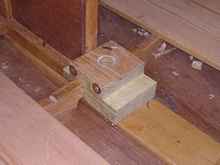
The mizzen step required some of the floor to be cut away to provide room; the rivets are to resist splitting from the torque of the mast in the hole. The floorboards are finished with a traditional oil finish: 8 parts turpentine, 8 parts boiled linseed oil, 1 part japan driers, and one part pine tar. This finish looks great now but will get grey with time. The thwarts and spars are finished with desk olje, a nicer wearing, low maintenance finish. A handy trick: after you are done banging around and ready to finish, there are inevitably dings in the wood. Placing a wet towel on the dings and ironing with a hot iron makes them go away.
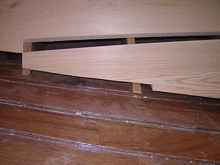
P12 above also shows the small spacer blocks glued to the inner sheer to provide the landing for the inhale. These pvc lamps are cheap and handy. The inwales are 1-1/4x 3/4 w oak, scarfed in place. They are set into notches in the ribs, fitted using test blocks held in place.
|
The parallelogram is the rib. |
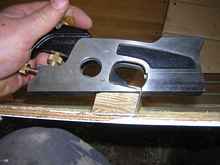
A shoulder plane is handy for this fitting.
When the inhale is glued in, be sure to account for the angle off the plank and set it high enough to finish square with the sheerline.
A spacer block temporarily holds the end of the wale off the hull to insure a smooth curve.
The rubrail is glued on last.
The inhale ends are then notched into deck beams and the ends of the boats are fit with recessed stringers for the decks.
The plywood spacer by the rabbet plane shows the thickness of the completed deck. The deck is made up of two layers of 6mm ply. After the first layer is glued to the beams and stringers, the second is laid down with holes drilled every 6 inches or so to allow extra glue to ooze out. Screw to the underlying beams and clamp everywhere.
P23 shows the finished deck and p 24 the underlying blocking for the steering oar chock and the stern cleat. P 25 is the foredeck with the sampson post cut in.
The oarlocks, steering oar chock and other wood bits in the boat are made out of Jarrah, from a hot tub that went wrong. (The supplier sent me a whole new tub leaving me with a pile of 6/4 Jarrah.) The steering oar chock has a tenon that holds the inboard side of the oar and a rope that cleats to the stern cleat, locking the oar securely in place. This is a traditional fitting, copied off the plans.
The oar locks were cut to shape and fit to the sheer line using a trick I learned from my dentist: coat the rail with chalk and rub the oarlock in place, and you will see what has to be removed for a clean fit.
A router plane cleans out the recess for the oar plate.
Under the gunnel is a small jarrah block with a hole to take the far end of the oarlock shaft. When everything is finished, the oarlocks are riveted into place.
Note the handy rolly cart, $29 at the garden store.
The stem heads were cut with a small frame saw. Several alternative shapes were auditioned over a few days before committing the act. Anchor chocks were glued in under the foredeck.
And now the paint: most everyone moans when I say I am going to paint the insides, but the thought of maintaining all that varnish (let alone getting ready for it) inures me to the cries of woe. And can you imagine serving in a whaleboat where the skipper was forever shrieking "MIND THE BRIGHTWORK!!" Prep is tedious, awkward work: a final coat of epoxy once everything that is going to be glued is in place, sanding, washing, priming, sanding, painting, sanding. I got a pretty good result with two coats of paint and I am ready to move on.
P34 shows the bow with anchor and line hangers.
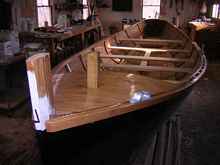
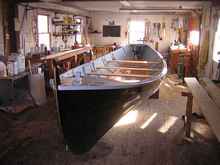
P 35 is the complete hull.
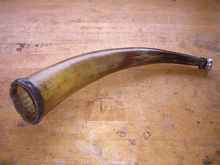
P 36 is the foghorn (scottish highland cattle horn and Ebay trumpet mouthpiece - works good).
Next: Oars and spars. Last coat of epoxy, 74 oz. Amine blush and the time of uses of white glue. Floorboards. Risers. Sequencing for gunnels, spacers, inwales and outwales. Deck beams. |