|
[This article is best read top to bottom including the photo captions. ed.]
Continued from Part Eight A...
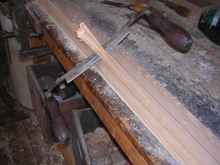
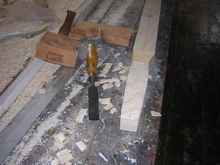
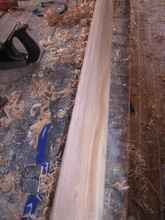
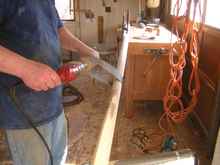
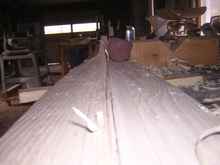
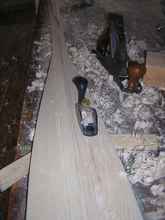
Now comes the noisy bit. I like to use a draw knife (P26a) if the grain is good, but this ash is quite wild and it is easier to do it with a power planer (P26).
|
P27 |
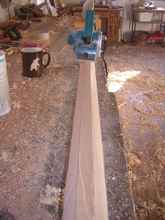
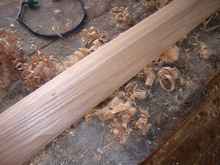
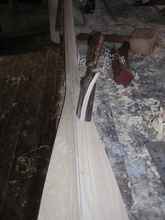
I take it nearly to the line and then finish by hand. The power plane can also be used to cut down the edges and the midline thicknesses of the blade (P27). |
The centerline final thicknesses are: 1. at the end- 3/8. 2 at 24" from the end - 3/4. 3. at 36" from the end - 1" (28). It is easy to go wrong with this tool; as an old shop teacher used to say " It ain't the tool, it's the fool". Be sure of what you are cutting and check the measurements frequently.
|
P29 |
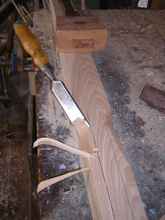
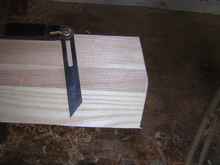
Finally, the fine shaping. starting with the handle, cut the shoulders with a chisel (P29). |
|
P30 |
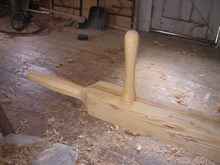
Smooth the transition with a rasp and spoke shave and then cut the handle to an octagon (P30); the handle tapers at each end to 1 3/8 with the center being 1 3/4 (P31). |
The loom inside the boat is left square. This gives more weight to the inner oar for balance and also keeps the oars from rolling around inside the boat.
|
P32 |
Transition the octagonal corners with a chisel, (P32) and shape the shaft with a draw knife or the power screamer. |
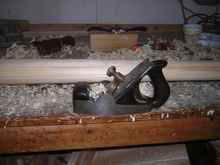
I use a stanley #3 bench plane for the final fairing of the octagon (my favorite bench plane size). From there, take the points off the octagon for 16 sides (P33), and then 32 sides (P34), then round by eye and feel.
|
P35 |
I usually use a block plane for this last rounding. If you are particular about perfection, use an inside-out sanding belt chucked up to a power drill (P35). |
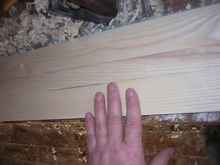
The blade is the sort with a ridge down the middle; this allows the removal of wood from the blade (in the concave areas) for less weight without compromising the longitudinal stiffness. The shaft is also slightly oval at the end, with the diameter in the same plane as the blade being slightly less wide.
After harassing the roughed blank with the power plane, I start to approximate the central ridge with a gouge (P36).
|
P37 |
A round plane roughs this out further (37). |
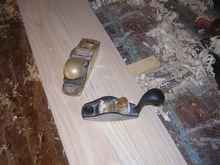
This particular plane is $35 from Lee Valley and works well. An old wood smoother that I gave a slight round to transitions to the end of the blade (P38) and then a variety of small planes (P39) finish up the shape.
The squirrel tail is from lie-nielsen; it has convexity in both directions on the sole and the curve of the cut can be varied by holding it at an angle to the cut. Feeling the surface can give you a better idea of the transition from round to flat than you can see (P40).
The ridge is finished and smoothed with the squirrel tail (P41), working with the nasty grain as best you can. Any excuse for using the Norris on tough grain is worth taking.
|
P42 |
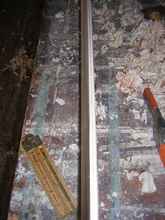
(P42). And last, turn the blade on edge to make sure the taper is smooth (P43). Cut the end to suit (P44). |
|
P45 |
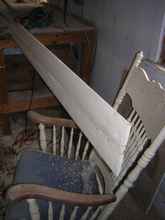
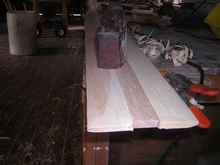
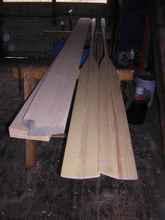
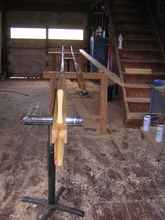
Here is a photo of the first two 15" oars. Next to them are two 8/4 pieces of ash that will make another oar (P45). |
|
P46 |
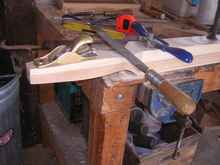
These oars are extremely lively. The handle in photo 46 is clamped to the bench and a 10# weight is on the end; the deflection is about 12". |
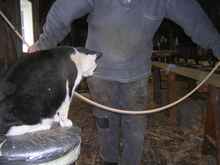
Pessimists might raise the concern for durability but here I am trying to break a 1 1/2 " by 3/8" piece of ash with my not inconsiderable arms while the cat places a bet. (He won; by prior agreement I was not allowed to use my knee.)
|
P47 |
(P47). I believe the laminated design further adds to the strength; but time will tell (another theoretical issue pending testing). |
Oars should balance such that the weight of the rowers arms is sufficient to hold the blade out of the water. These are all comfortable to hold in the oarlock and do not require any muscular effort to keep the end up.
|
P47a |
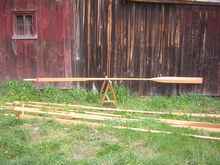
P47a shows the 15' oar balanced at 76", a ratio of .42 (balance point from handle over total length in inches). |
The other oars are all .42-.43 except for the steering oar which is a little closer at .40. They weigh 18-20lbs for all but the steering oar, which is 33 lbs. They require about 8-10 hrs apiece to make (before paint).
|
P48 |
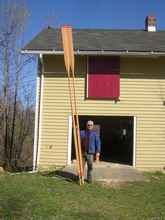
P48 shows me standing with the two finished 16' oar: a coat of varnish diluted 1/2 with turps, primer, and two coats of enamel. No epoxy sealing in this case. |
|
P49 |
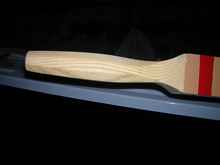
The stripes are for identification of the various lengths. The steering oar has a right angle handle to allow you to scull (P49). |
Sometimes, despite your best efforts, the oar will not be perfectly straight. The 21' steering oar took a notion to bend and "hurt my feelings", as a guy i knew used to say (P50).
When this happens you can throw it out and start over, or you can set the curve to starboard to counteract the extra leverage of the three oars on that side; tell them you made it curved on purpose.
Next Time: Rigging the whaler for sail
|