|
Topaz!
by Brad Raby sailormon@torchlake.com
Read parts two and three
too
( click thumbnails for larger view)
| 1)As I promised, I will give the name of our close freind who is
providing us with these pics. Thanks Nan. |
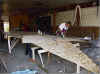 |
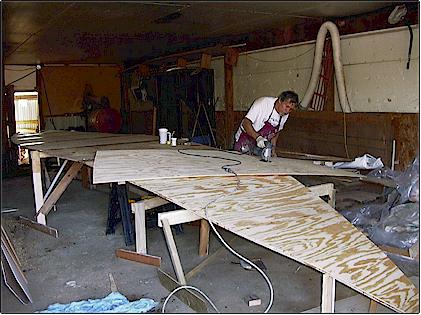
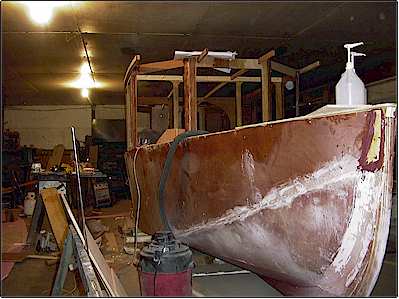
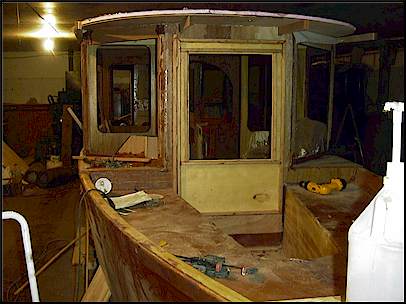
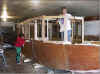
| 2)I will foreward a few pics that I have had on the comp.
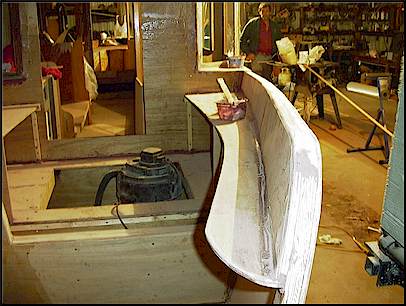
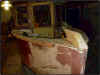
The boat is of course in the rough stages with no real finish or fairing at this
point. |
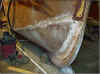
 |
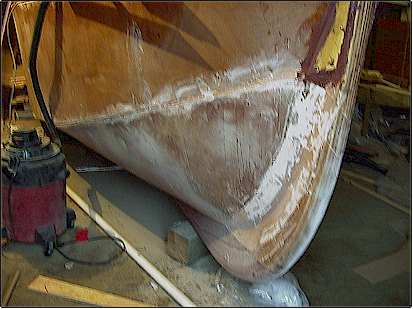
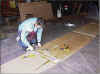
| 3) I am holding my wife off from going too far so as I don't mess
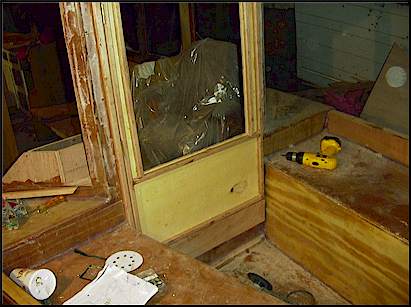
it up. The roof is going on in the next day after I stretch headliner over the
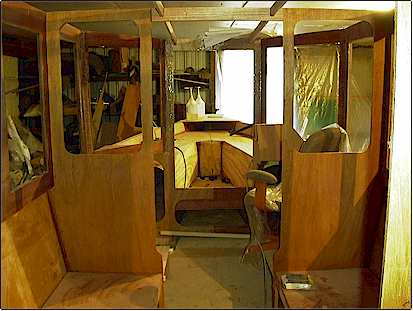
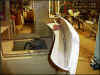
beams. |
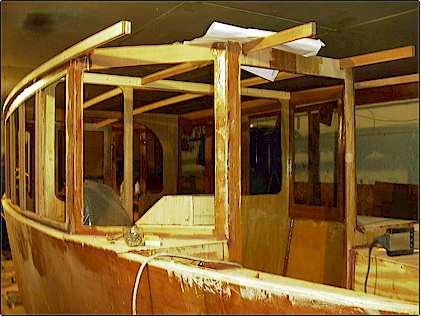
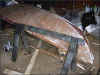 |
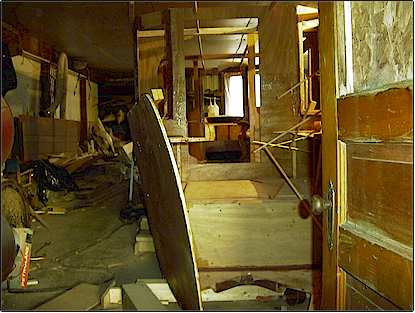
| 4) This is my inovation and not the designers, I like the finished
look you get this way. I will try and show the floor that had to be built first and
then turned over, onto which the boat is built. |
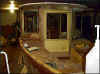
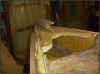
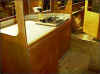
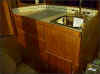
 |
| 5) A few in between. Use them for your own interest or
whatever. As you were interested in the boat, you will of course like the building
process. |
 |
| 6) By the way, my wife and others like her, women really like the
boat. I just received a letter from Tim Smith and he may build one. |
 |
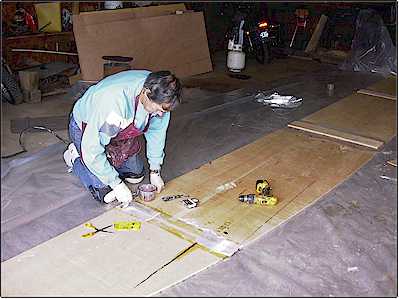
| 7) I will send along the next four pics as soon as they are
received as I believe they will better show the boat in it's present stage. This
includes tools, sawdust and all. |
 |
| 8) P.S. I have a lot of pics and would share them at any stage if
you or anyone else is interested....like glassing seams etc. turning, roughing and taping
it together. |
 |
| 9) |
 |
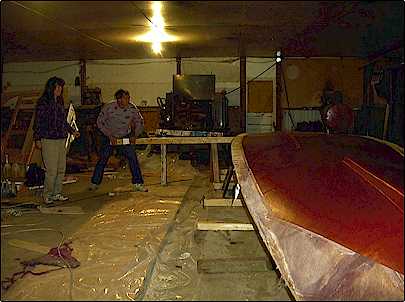
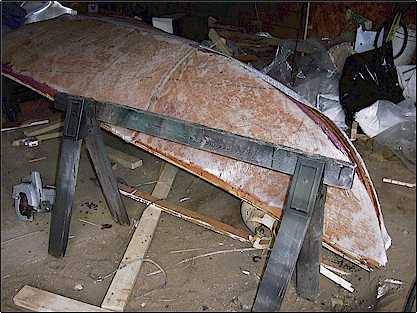
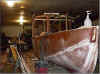
| 10) The boat is comming along more slowly at this point.
Making things like the doors, glassing in what has been built as well as molding is slow
business at best. |
 |
| 11) I have included a few more photo's showing some points of
interest that were addressed when communicating ealier. |
 |
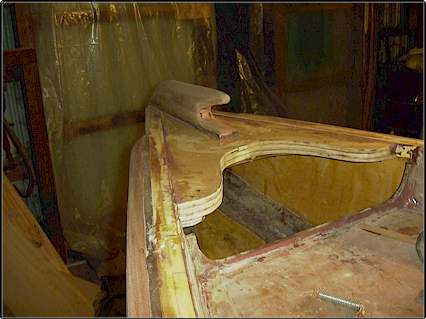
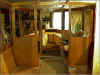
| 12)This shows a closeup of the coaming that was built in around
the fwd cockpit. This is outside the plans and results in a finished and clean
exterior. This area at this point is a closed cell and will need to be drilled into
from the cabin to open up to air. |
 |
| 13) This is the close up of the transom showing the same
treatment. This area has only been rough sanding and not glassed at this point. |
 |
| 14) This is a closup of the door, minus glass at this point.
The lower 4" addition laps down and seals that area from any incomming waves. I
plan to install double latches inside to dog this down securely. |
 |
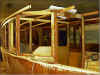
| 15) Good veiw of the cockpit and the newly constructed door.
The cockpit is 6' plus on the seats. |
 |
| 16) Corner veiw of the whole boat showing the roof resting on the
boat. This will be finished later with wood edging so the pink styrofoam will be under
glass tape. |
 |
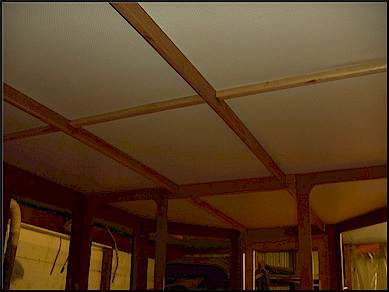
| 17) Good veiw of the ceiling treatment. Notice there is an
extra beam so that the nautolex headliner can be supported every two ft. This has
been stretched on like a canvas ready for painting prior to the roof being put on.
Later in order to screw down to beams, a good stud finder may be in order. |
 |
Chuck, here is the latest on construction. Many things that are not in the photo's
are of course not included such as taping of the chines, glassing in of the stern and
other things that eat up a lot of time. It's the fun acheivements such as the galley
and pretty stems that will later be put to the test of anchoring, that stimulates one to
the newer jobs. So I include these as much to show construction methods as to share
the thrill of building. |
| 18) Photos of the stem looking aft and foreward
shows the mahogany cleat that is built in and beefed up to withstand any wind conditions
in the future. |
 |
| 19) I will later through bolt and backplate this
cleat as well. Also note the beefy rub rails recently added, made of a heavy, dense
form of mahagany |
 |
| 20) On the close up of the sink side, you can see
the array of drawers and doors, one of which is going to be enlarged at my wifes orders,
oh well. The brass sink is my wife Connies recent purchase. I know, it haint
nautical and will tarnish, but we will use this boat in the great lakes only, I
think. Beneath the stove there is plenty of room to make a cooler or store
one. Also beneath that is room for holding tank, water tank or whatever. |
 |
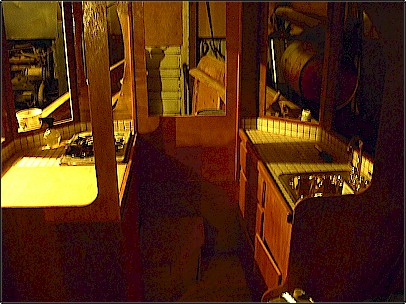
| 21) Looking aft, shows the galley as seen from the
ceiling in the middle of the saloon. On the left is the stove and on the right is
the sink. Both sides are tiled and grouted to enhance both the beauty and utility
of the galley. |
 |
| 22) Next to the stove beneath the large lid is the
head. What I did was to use part of the head space as galley space. This lid
comes up, closing off this area from the forward part of the boat while an
additional panel encloses the aft. The half door is augmented by a heavy
curtain, completely enclosing the head. This becomes a small, but separate room
which can be left up or converted as you see it when only a few are aboard. When
only a couple are aboard the simple setup is more than fine. |
 |
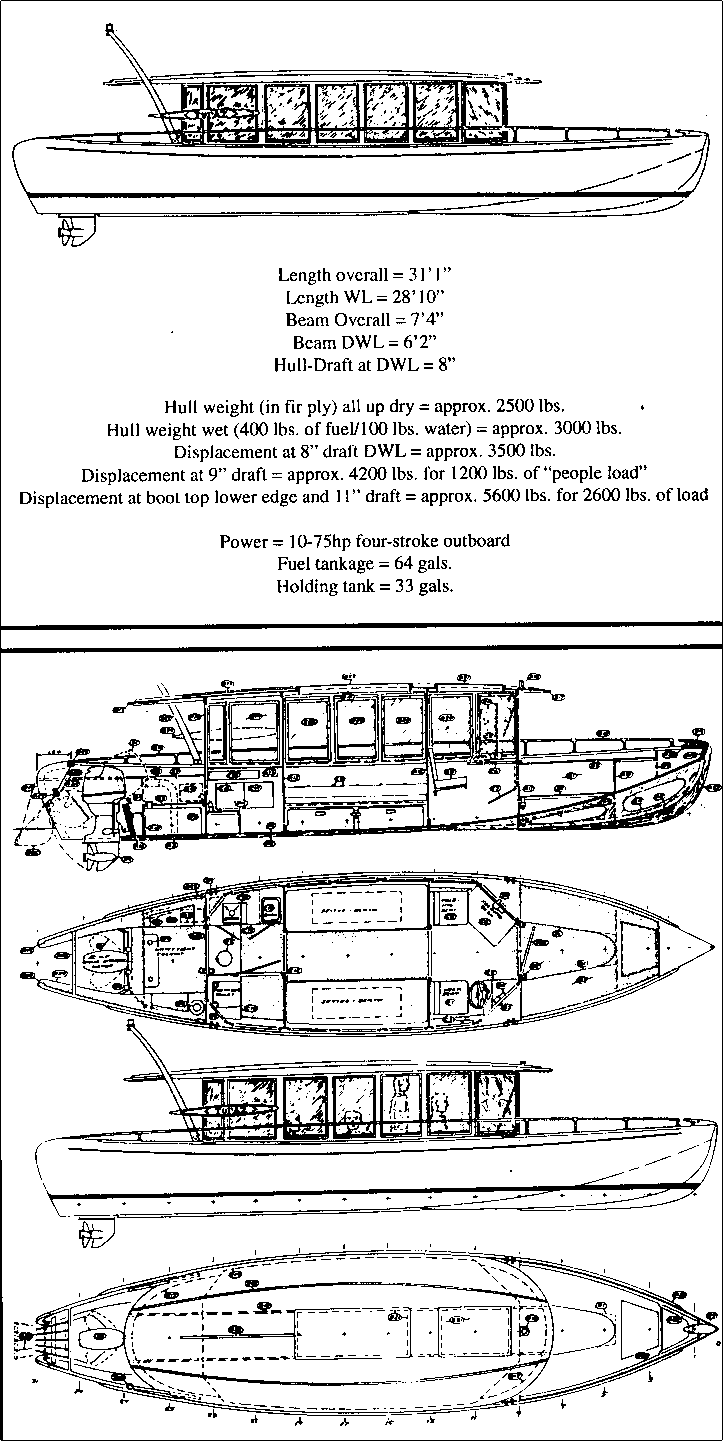
Here are the line drawings and specifications for
Topaz

|