Bolger Design
#584
by George Shannon gjs309@magiclink.com
763 Cento Dr.
Twin Falls, ID 83301
(Be sure to read the updates to this
article)
| This is my first boat building project and ownership. The last
boat I was on was a Fleet type WWII submarine, so this is really a new deal to me. I made
the decision to build MT from research on the Internet when Common Sense
Designs was still in business. I am afraid I may be partly responsible for Bernie going
out of business because I called him so often with too many questions. |
| The blueprints from Phil Bolger are not long on
details, so much study was necessary for me because I am a novice. I had no idea what the
names of boat parts were and had to learn them as I built each one. There is some
room for individual interpretation of how the boat looks, but I am happy I followed most
of the plans closely. |
| It took three months of studying the plans before I felt ready
to buy materials and cut wood. The actual construction began in May, 1999. |
| I chose MDO plywood because of cost and
availability here in Idaho. All my research indicated it would be as serviceable as Marine
plywood if I double-coated it with epoxy prior to painting. The finish paint coat looks
fantastic, so the combination seems to have worked for looks anyway. |
|
| I won't know for several seasons about durability. System Three
Epoxy Systems in Seattle was my source for epoxy, wood flour, phenolic micro balloons,
measuring devices, brushes, fiberglass cloth, and tape, etc. It is a great company
to work with and more reasonably priced than some other popular sources. My local
lumberyard picked up the MDO out of Oregon. I used mostly 1/2", some 3/8", and
some 5/16". I chose Fisheries Supply out of Seattle for paint, hardware, etc., as
well as West Marine in California. Laird Plastics in Salt Lake City is supplying the Lexan
for windows. I used a local tool supply company for stainless steel screws. |
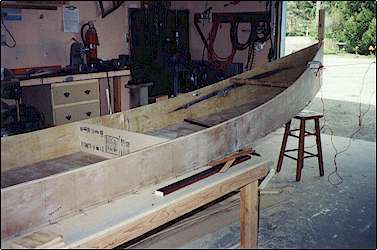
Bulkhead C and D in place.
|
I have a fairly well equipped shop, so this was not
a single car garage project. Once I turned the hull over, I had to move it to my carport
and have 2 1/2 inches of heighth clearance to get it out after construction. The
hull sits on a piece of industrial grade one inch particle board with 3/4"
pipes underneath it to roll it outside. |
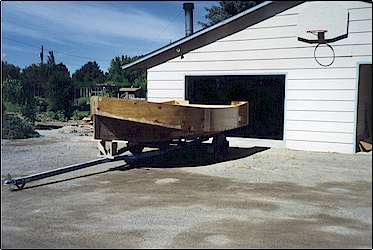
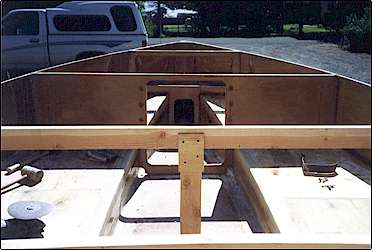
| I am making a dry dock with laminated 2
x 8's with a 9" span to put it on prior to lowering it down on the trailer. I
bought a stripped down, used EZ-Loader trailer for $150.00 and built the bunks to suit the
MT hull configuration. I built the lower ones first, then will put the boat on the trailer
and custom fit the outer hull and side restraints. I am not enough of an engineer
to build them ahead of time. Once I see what I need, I can build most anything, but have
no skill for anticipating measurements. So far, I have about 1500 hours in this boat and
do not regret one hour. I did get a little (okay, a lot) tired of sanding. |
| Here is the building process from beginning to
present January 2000 (the weather won't let me out of the carport), with some
pictures and brief comments. I am happy to visit with anyone who would like more detailed
information. Without people like Brent in New Jersey, I would have been lost. |
Phenolic microballoons for fairing
material.
|
He purchased the plans and built a model, and had thought the
process through much more thoroughly than I did. I owe him a debt of gratitude. Phil
Bolger is also available by fax or mail. There were a couple of other builders I found on
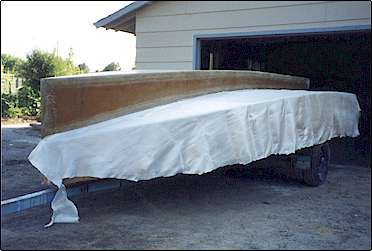
the net, but only one would respond. The plan is to move outside, weather permitting, and
on to the trailer in February. Then mounting the 40 hp 1997 Mercury 2 stroke, 4 cylinder
oil injected motor.
Micro Trawler
Bolger Design #584
George Shannon
First Time Builder
Numbered notes to go along with pictures enclosed |
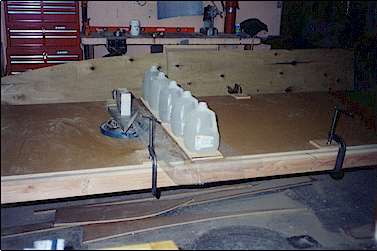
Scarf joint 5" from each end of the
1/2" plywood. I used a 3 x 21" belt sander.
Plastic milk jugs with water for scarf joint pressure, note plastic above and below joint.
Lower keel section. (note the wire
stitches)
Keel attached to hull bottom and sides.
Bulkhead A and B installed. 2 x 4 brace is
temporary.
Fiberglass preparation.
Phenolic microballoons for fairing material.
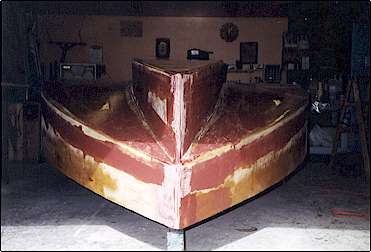
Keel and hull bottom. 5 coats of paint.
Rub rail of cheap furring strips.
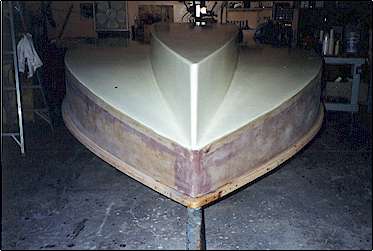
Complete keel and hull.

Hull turning.
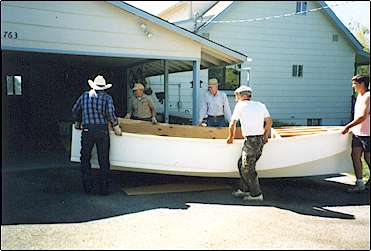
5 men, approximately 650 lbs.
Bulkhead C and D in place.
Berth cabin sides-aft entry.
Fuel tank-Tempo-16.5 gals.
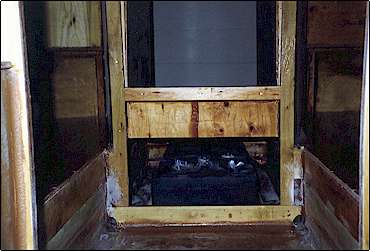
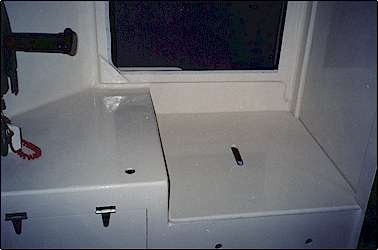
View is looking aft in berthing cabin.
Transom motor mount. 4 1/2" pieces of MDO
plywood.
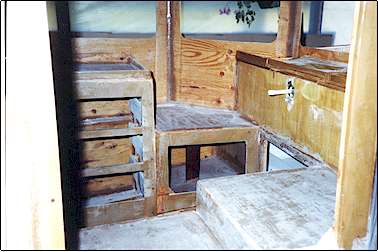
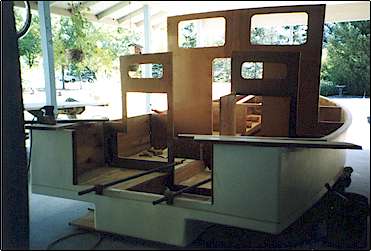
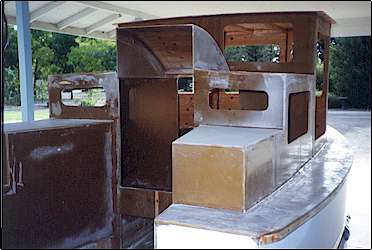
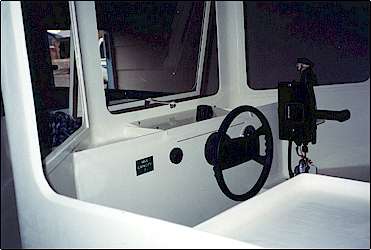
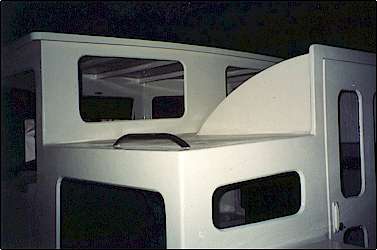
Pilot house, drawers, storage and steering
mechanism. Center steering wheel.
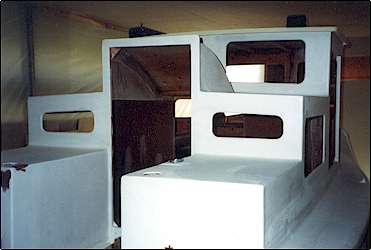
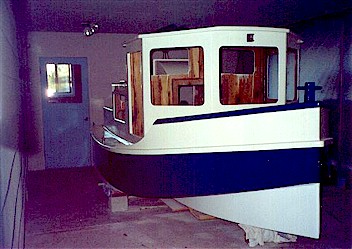
Primed aft view.
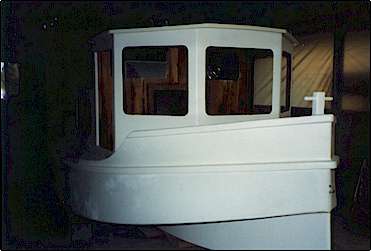
Primed forward view.
View from the port side window.
Starboard stern view, note gas filler, grab bars,
fuel tank space vents, stern light,
cleats, steering cable and fuel line is barely visible.
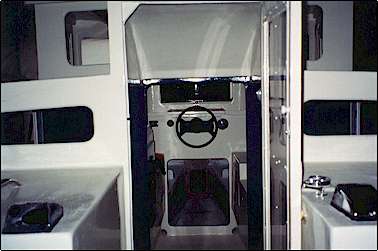
View forward from stern.
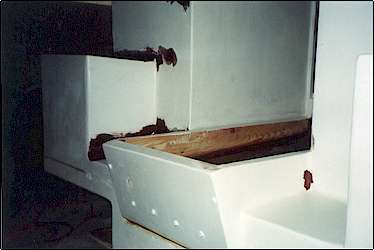
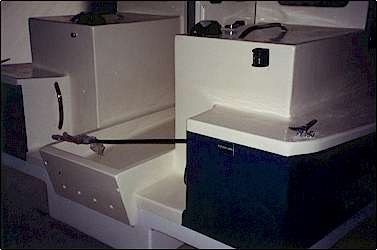
Starboard pilothouse doorway and cooler
compartment with slotted lift.
Rear door and entry.
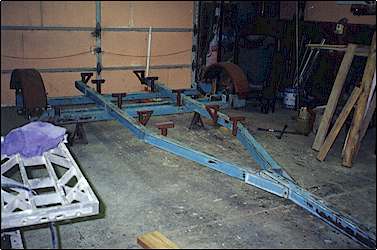
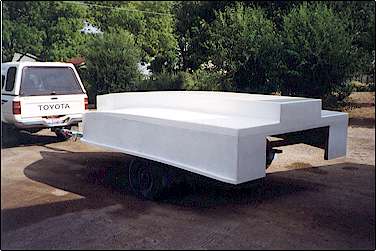
Rough trailer.
Final inside picture. The plan is to move
outside, weather permitting,
and set up on dry dock prior to lowering onto the trailer. March completion?????????
Be sure to read the updates to this article
