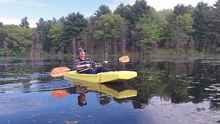
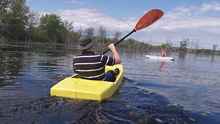
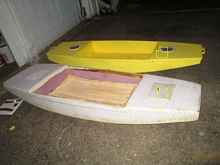
The Unsinkable Foam Kayak Anyone Can Build, 16 Pounds and Eight Feet of Fun
Introduction
Can you cut a crusty bagel with a knife, stick a sandwich together with mayo, grate cheese, cut thin fabric with scissors, stretch wrinkles out of bed sheets, and roll paint onto a wall? Then you can build this boat! I've built seven small kayaks over the years, all have been from the design type called a mouseboat. The mouseboat is a free plan offered by Gavin Atkin, and other variations on the design have been drawn by others. My first seven mice were built of plywood and glue, either polyurethane construction adhesive, or marine epoxy and fiberglass tape. The mouse is a great little boat for a beginner, your whole investment in the project comes out to roughly $100 US to have a finished boat that will be the envy of those on the shore. Just about every time I go out in them, at least one person wants to know where to get one.
I have also built a teardrop trailer, currently my family is too big to all fit in the teardrop, so I'm planning to build a bigger camper to fit us all. On the teardrop building website there is a section called "foamies", it is devoted to building campers out of XPS foam, and other variations.
The big advantages of a foam trailer are light weight, and rot proof, of course the material has its own challenges to build correctly with. To build a camper for six that uses foam as the primary construction material will have a learning curve, I wanted to avoid that learning curve on the camper where mistakes could be costly, so I decided to build another mouseboat out of foam so I could learn the process on a much smaller and cheaper scale.

Image Notes 1. triple handle for children 2. screen door pull, the two boats on this end are older |

Image Notes 1. finished mouse boat handle, while painting the hull the boat hung from this handle for two days |
| Image Notes 1. 15 pound boat (after paint, here it weighed 13 lbs) 2. 35 pound boat |
Step 1:
Collecting first, you need the plan for what you will build. I got the plan for the mouseboat from the yahoo group "mouseboats". Some people have a problem getting the files there though as they come as a zip file and must be opened once downloaded. To make it easier, I converted the best mouse designs, IMO, to JPG files in an album on my facebook page here - if they are not clear enough ask me, I might be able to clarify details for you. There are a few different plans, the best and fastest boat will be the original mouse.
Second, each mouse is built using one 4x8 sheet of plywood, I used two 2x8 sheets of foam as the V bottomed mouse fits them just fine. You will find you need one more sheet of foam to make two bulkheads and for the decks (if you make them of foam also).
Third, you will need your glue. I did some experimenting before I started construction, you can read about it here, the best glue for foam to foam bond is Gorrilla glue, for bonds that also need to fill gaps Great Stuff, the expanding foam sealer works well, though it is not quite as strong. Both are pretty much the same chemicals, one just has a foaming agent in the can. Both will also stick to your clothes permanently, wear stuff you don't care about when using them or any other glue or paint.
Fourth, in my glue testing I found that roughened foam gives a better bond, a warner 250 wallpaper perforator does an excellent job, I got mine on Amazon. I also just read recently that EPS foam off gasses chemicals for a while after it is made. These gasses get trapped by the outer "skin" on the foam, chemicals used in gluing or painting the foam can allow the gases to escape, causing bubbles under the paint. While I've seen this on others projects, I believe perforating the foam ahead of time has saved me from seeing any bubbles in my projects.
Fifth, you will need a good way to cut the foam, some use a putty knife with a sharpened edge, I like to use a drywall saw. One person I follow is using a heated putty knife, while the putty knife goes through the foam like a hot knife in butter, it may also release nasty chemicals, if the foam is heated over 190 F.
Sixth, foam is weak and easy to tear or break, you need a tough skin, I used bed sheets to skin the foam, it was tough enough to drag over rocks and trees in the water with no tearing.
Seventh, the skin needs to be glued on, for this Tite Bond II works the best, around here I can get it by the gallon at hardware stores, you will want a gallon or more for this boat.
Other Odds and Ends:
- pencil, pen, marker;
- yardstick/drywall square two feet long or longer;
- Stanley sureform, you can work without it, but it is the best for quick shaping of the edges;
- clamps, or screws, I found good old drywall screws work just fine in foam, as long as you don't strip the hole in the foam out, look for coarse thread screws at least 2" long;
- some bits of plywood will help give the hull strength, I used scraps to reinforce the rails;
- another glue that works is PLpremium construction adhesive, it is heavier, I used it for one deck as a test, the rest of the boat was glued with other glues. bondo plastic spreader, get more than one, when one is all gooped up, switch to another, once the glue on it has cured flexing the spreader will break off the old glue tape measure, at least 8 feet long;
- duct tape.
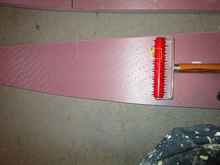
Image Notes 1. werner 250 wallpaper tool, scoring the foam, more than one pass does an even better job |
 |
Step 2:
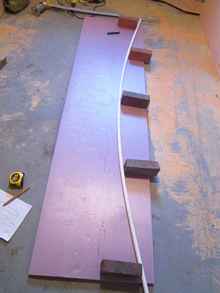
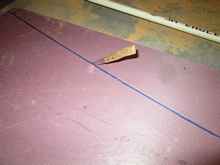
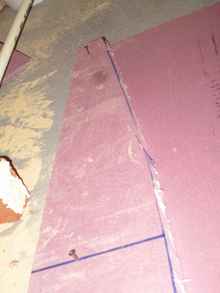
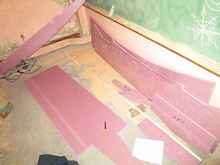
A pile of parts start by copying the lines on the paper plan onto the foam, this step is important, a wrong line here could cause a lopsided boat later on, this is where you really must "measure twice, cut once".
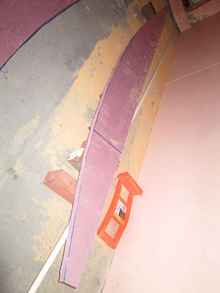
Once the panels have been marked out, only cut out the side panels (you did label them as you drew them, right?) you will notice the instructions say to only cut out one side panel, take this panel, flip it over to the other side and trace it to get the second side. Make sure you put the marked up side against the marked up side for all sanding and tracing operations. Clamp the side panels together, I used drywall screws, then use the sureform or a disc sander to even out the lumps and bumps until both panel edges are even. Measure out and trace the bulkheads (make sure you clearly mark the center line of each bulkhead from top to bottom) so that you have all four as shown in the plans. Since the mouse plan is drawn for a sheet of 1/4" plywood and we are working with 1" foam, you will need to cut an inch off each end of the bulkheads, otherwise your bottom panels won't be wide enough.
If you do goof and make a panel the wrong shape, the easy fix is to glue the cut back together with GG, then cut to the correct shape. Always save your waste sections until the hull is 3D. Once the boat is coated, sheathed and painted no one should be able to see the goofed section.
www.facebook.com/Rowerwet/
|


