The Unsinkable Foam Kayak Anyone Can Build, 16 Pounds and Eight Feet of Fun
Step 3:
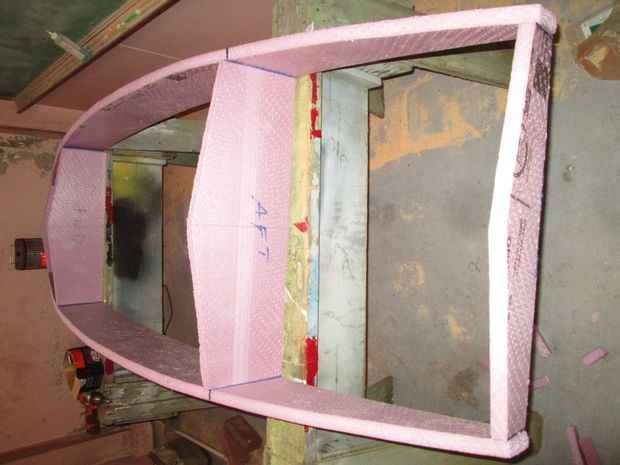
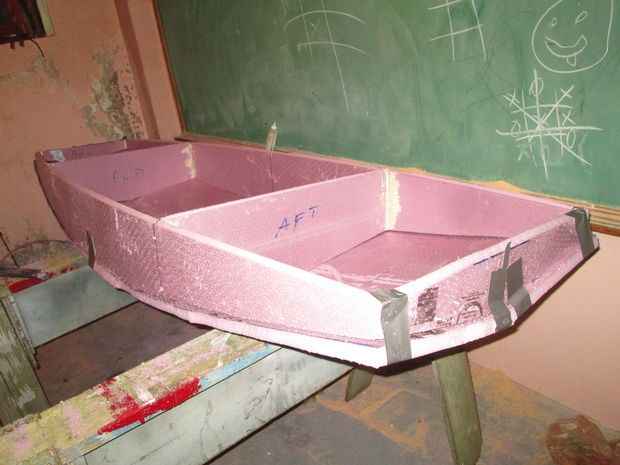
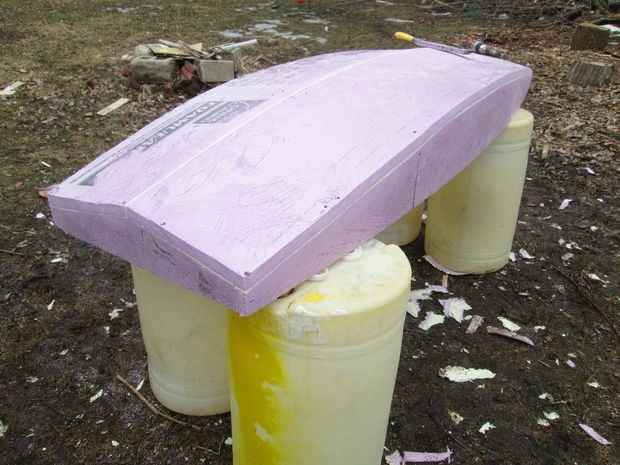
Going 3D this is the exciting step, in a very short time the boat takes its shape.
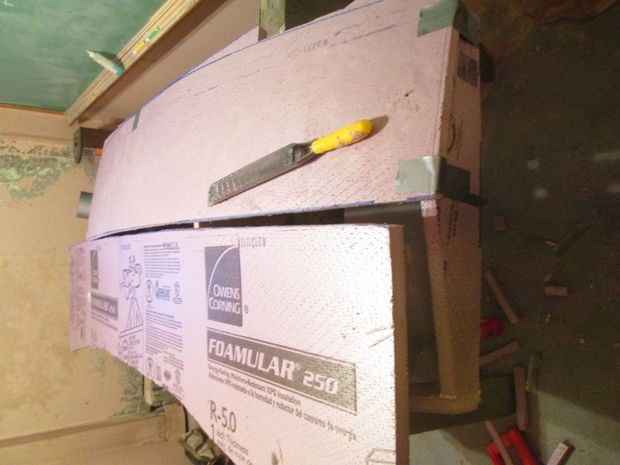
Take your two side panels, unclamp them, put them on the ground or sawhorses if you don't want sore knees. Make sure the bow end of each is facing the same direction, and the marked up sides face in toward each other.
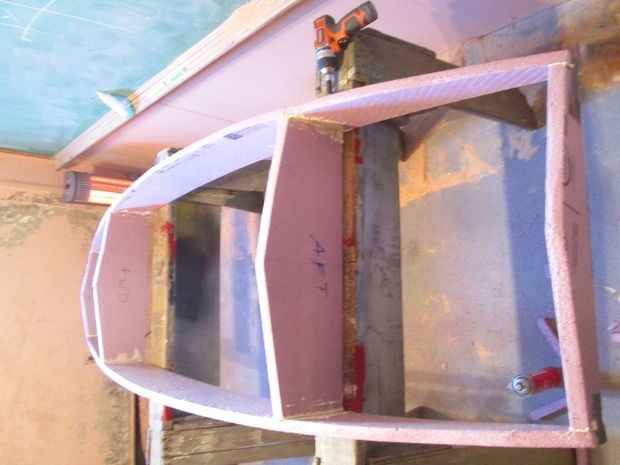
Take your bulkheads and line them up with the bulkhead station lines you made on the sidewalls, align the top edges so they are all even (they will line up on the bottom as you are building upside down) use two long drywall screws to anchor each bulkhead. Once again you are dealing with 1" foam so put your bulkheads forward of the mark at the forward bulkhead, and aft of the mark at the aft bulkhead.
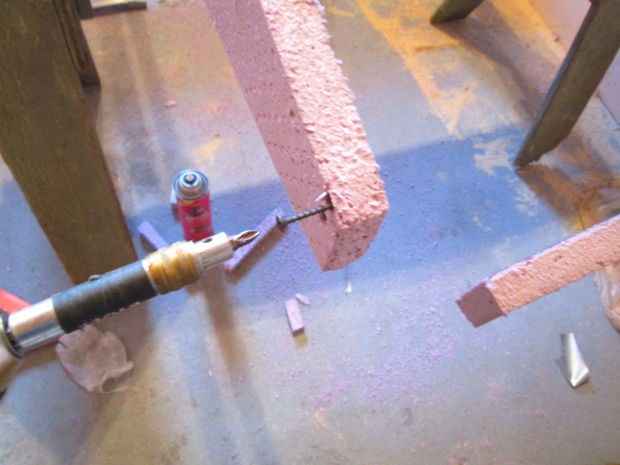
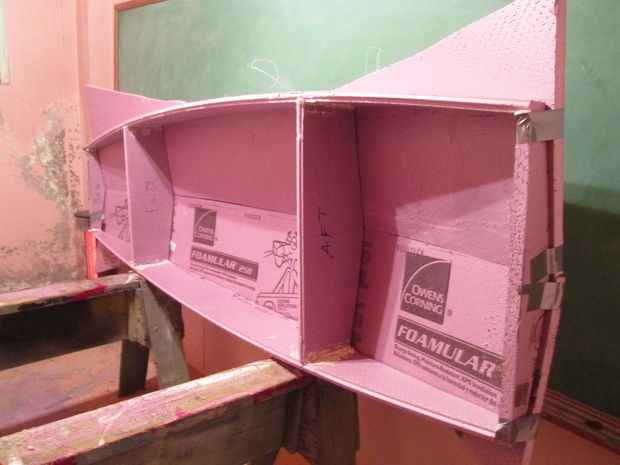
Now draw the ends in and screw them into the bow and stern bulkheads, you will find this easier to do if you profile the ends of the bulkheads to match the curve of the sidewalls. I used duct tape to hold every thing together at the corners.
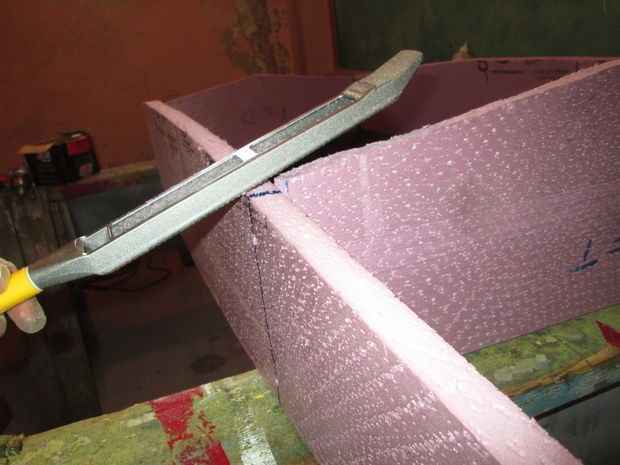
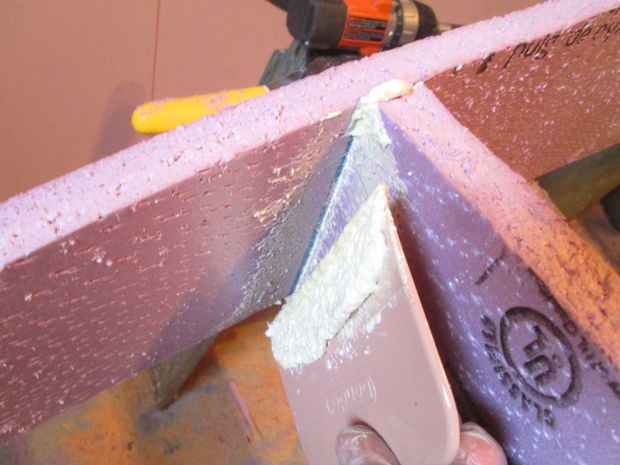
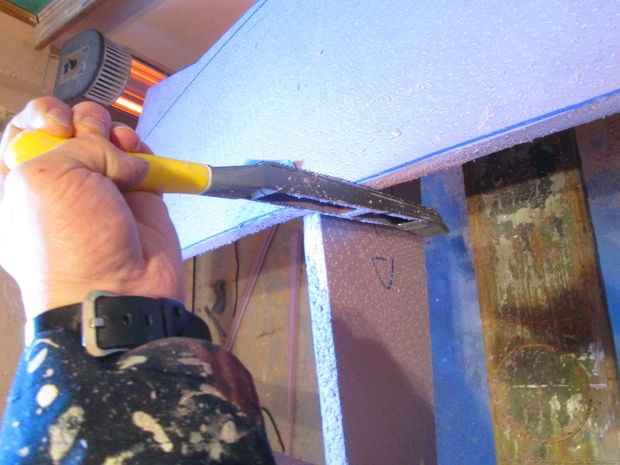
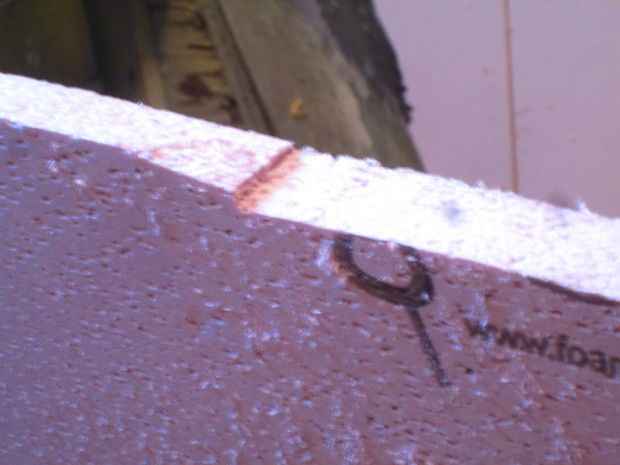
Once again the 1" foam causes another problem, when we shortened the bulkheads we didn't recut them to the new end dimensions (notice the gap under the sureform), it will help if you mark where the two panels meet at the bottom edge, then draw a new line from there to the point of the V on the center line, then cut the bulkhead to the new dimension.
I used the sureform to taper the bottom edge of the foam sidewalls to match the angle the bottom will meet them, you can wait to do this until you have the bottom ready to go on.
Step 4:
Now it all gets messy
(wear clothes you don't care about ruining for this step, and wear gloves, I'm a mechanic for a living, so if I walk around with black patches on my hands nobody is surprised, other lines of work this could be a problem, once the glue cures onto your skin, it won't come off easily).
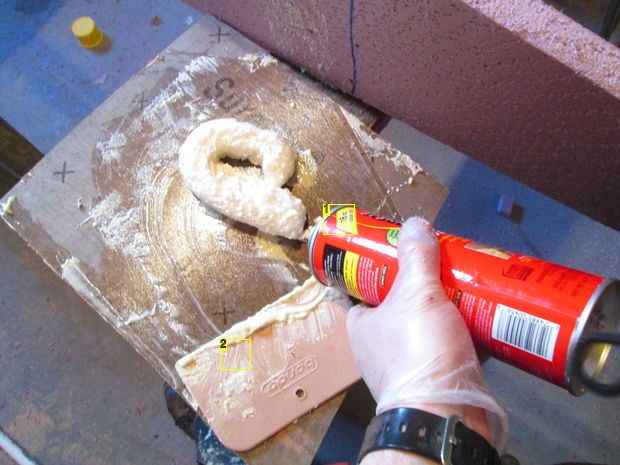
Great Stuff (GS) is an expanding foam sealer sold at home centers as a quick and easy way to stop air leaks into your home. It is not water proof, it will soak up tons of water and hold it, but since I'm not using it to fill a void it will work for what I want, filling gaps up to one inch (advertised on the can) and gluing the foam panels together. We don't want the expanding properties though, so we need to knock the foam down.
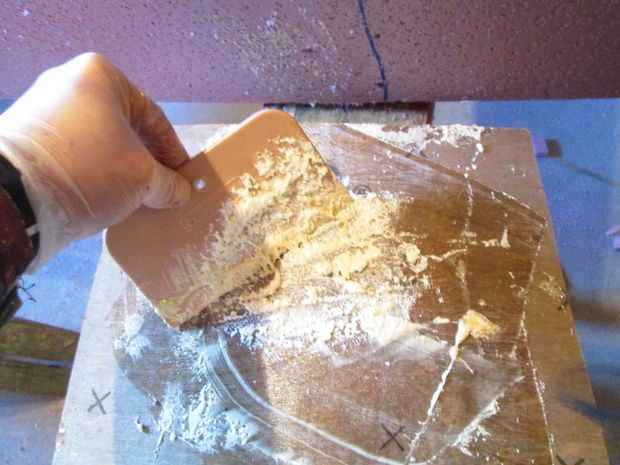
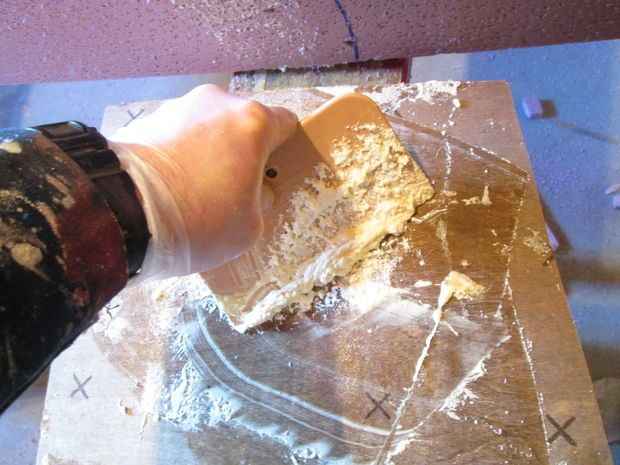
Start by spraying the foam onto a board you don't care about, or a sheet of metal (after I did all this work I found a perfect one sold at Harbor Freight), you will have to throw the board away after the foam cures, the metal you can scrape off and reuse. take a plastic bondo spreader and "fold" the foam back on itself, each time you fold it, some of the air will come out, the consistency will change from foam, to marshmallow fluff, to mayonnaise, and even mustard. The last two stages are the ones to work with, depending on how large of a gap you need to fill.
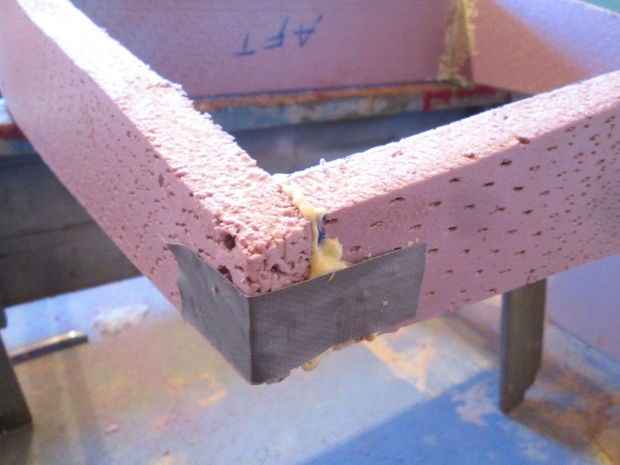
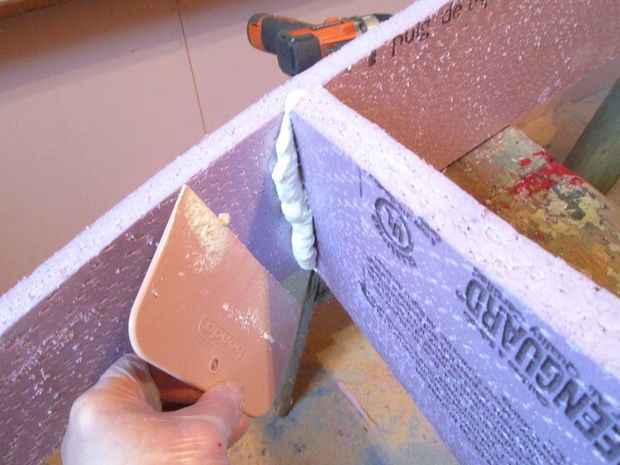
On the one inch foam edge, a 1/2 inch bead of mustard like GS was more than enough to fill the gap and ooze out. Once the joint is in place I used coarse thread drywall screws to pin everything together, on joints seeing tension on the screw, I used duct tape to make sure the screws didn't pull out.
Once all the joints were together I went back and scraped out any oozed out glue with the bondo spreader, this saves sanding later.
| Image Notes 1. great stuff, used as the glue for the main hull 2. bondo spreader, for "folding" the foam |
Step 5:
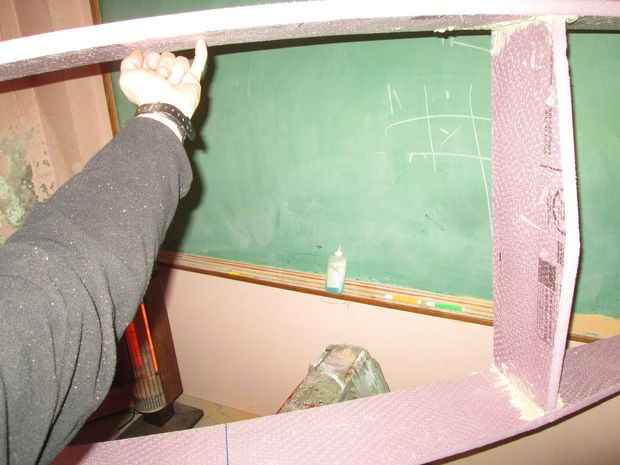
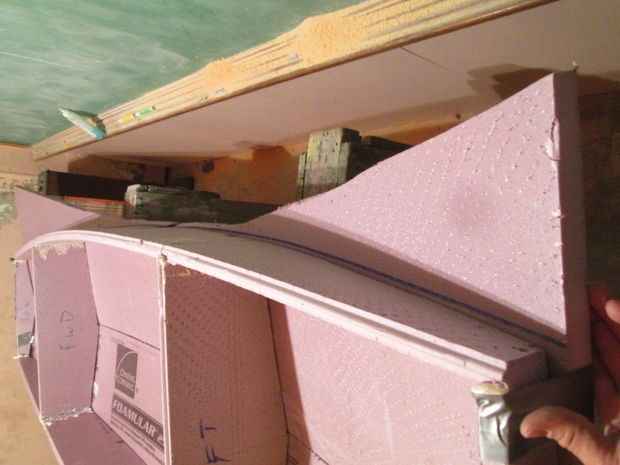
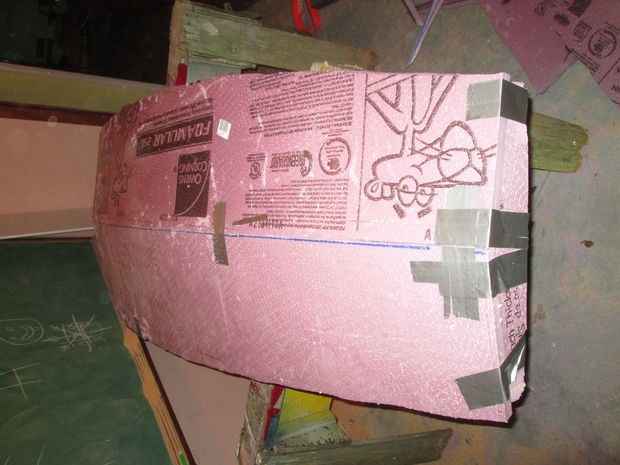
No glass bottomed boat as you can see from the first picture in this step, once the GS was cured, the screws and tape were removed, and I could balance the frame of the boat on one pinky. Of all the mice I've built, the rest have had a flat bottom, If you end up building one, don't make a flat bottomed mouse! they are slow. This was my first V bottomed mouse, and I wanted as tight of a seam for the center of the V as possible. This took a bunch of shaping with the sureform, but I ended up with a seam that was tight. Make sure the frame of the boat is straight, I marked the centerline of each frame before cutting them out. With the boat hull assembled and lying upside down it was easy to see if the centerlines all lined up. Making the bottom panels line up with these center lines helped with making the center seam straight.
I used the duct tape to hold the panels tight together, then used screws to hold the edges of the bottom tight against the frame.
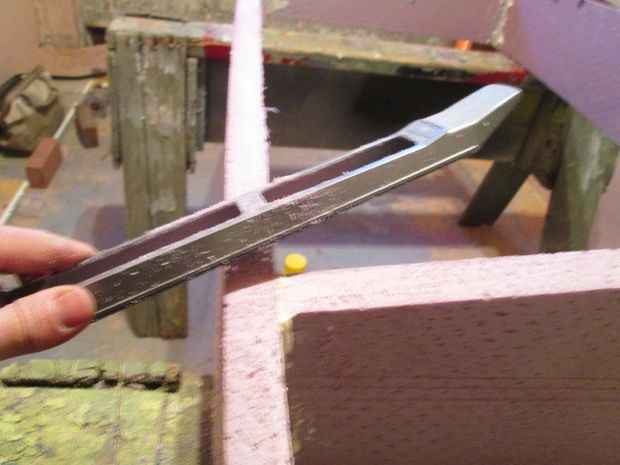
I then used a drywall saw to trim the edges of the bottom panels that were left uncut when I cut out the side panels. Leaving a small ledge of extra foam for final trimming. This is the time to check the shape of the bevel where the sides and bottom meet.
Once I was happy with the bevels and the overall fit of the bottom I removed one half of the bottom and glued it on with more GS, using tape and screws to hold it all in place. Then I removed the other half and glued it on. duct tape along the V seam would have keep the GS from foaming so badly on the inside, on the outside extra foaming is fine as it can all be sanded off easily.
Step 6:
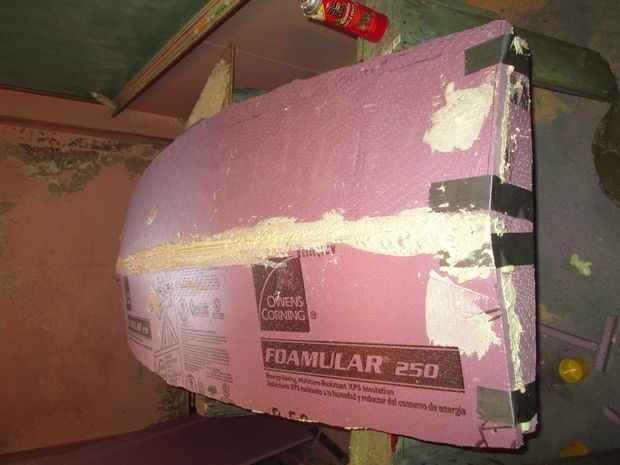
Taking off the rough edges After the GS cured, I removed the drywall screws, and used the sureform to remove all the extra foam GS that oozed out of the joints. (I call it the beard.)
As an experiment I used gorilla glue (GG) to fill the holes left behind by the screws. This caused problems, GG cures to a tougher consistency than GS, when I was removing the excess, it tended to come out in one chunk, taking some foam with it. Folded GS cures to a easier to work consistency. Both glues expand as they cure, keep any joints clamped, weighted, taped, and pinned to keep them from pushing things apart.
www.facebook.com/Rowerwet/
|