|
10/17/15
A long time ago, in a Galaxy far far away, I decided to build a boat. It was in the late '50s that I built a "5 Foot Sailer."

5' Sailer |
I was not allowed to use power tools as I was about 9 years old. My Dad gave me an 88 cent keyhole saw. It took me over a year to cut out all the ¾ inch plywood parts. The ¼ inch plywood parts were much faster. I had out grown the boat by the time I finished building it.
Fast forward to present. I have started another boat. I wanted to build a 15.5 foot sharpie (a Jim Michalak AF4B) first but I ran out of outdoor gluing weather (I thought). So I started a dinghy that I thought could build inside. I will build the AF4B next spring (if I can wait that long).
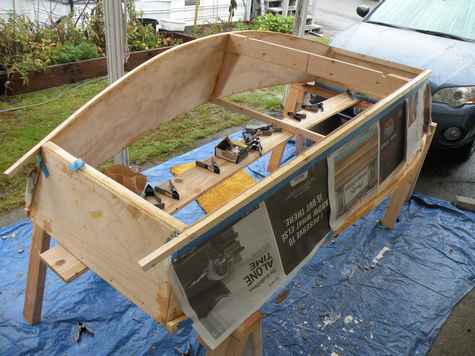
This is the frame with the glue curing in my spare bedroom. |
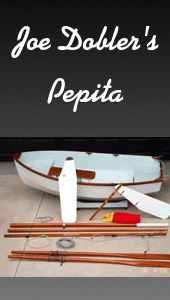
So today, I built the main frame for a dinghy. It is in my spare bedroom with the epoxy curing right now. The design is Jim Michalak's "Moby Dink". I think I must be nuts.
10/19/15

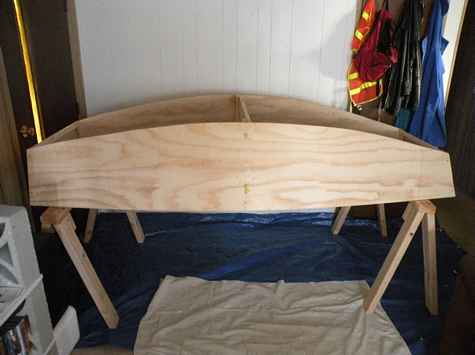
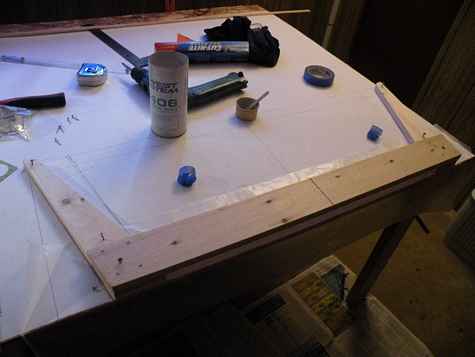
Laying out the side panels. |
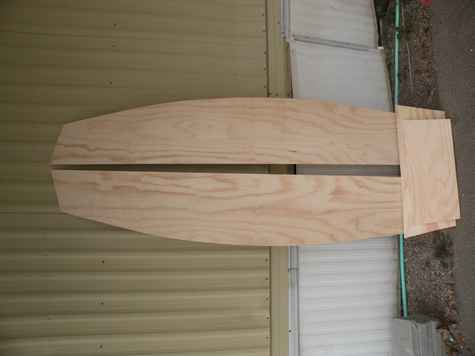
Sides and transoms. |
Houston, we have a problem... The boat I am building in my spare bedroom is too big to get out of the bedroom. |
10/21/15
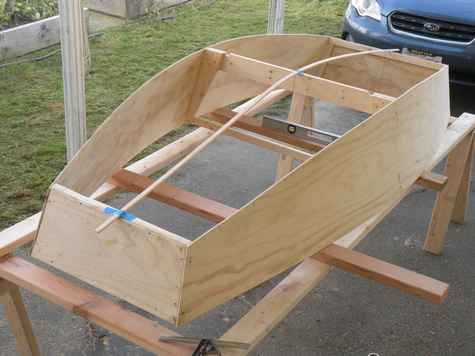
Plan B, build it in the carport for most operations but bring it into the living room for glue curing. I did a fit up today with temporary screws. I will epoxy it tomorrow. Due to global warming, I may not have to bring it in the house for the epoxy to cure.
10/22/15
Plan C; glue it up in the living room. The weather guessers got it wrong. It is too cold for epoxy work outside. Also, in Jim Michalak's book "Boat Building for Beginners (and Beyond) he says that once the epoxy is in place, you cannot move the boat until it sets up. There is a hardener for epoxy that is good down to 40 deg F. Maybe I can glass the bottom outside. Fiber glassing is too messy for inside.
10/23/15
Plan D: I bought new low temperature hardener. It is good down to 40 deg. Lessons learned, mask more, sand less. I attached the whales today under plan D rules with much masking. Masking tape is cheaper than sand paper.
10/26/15
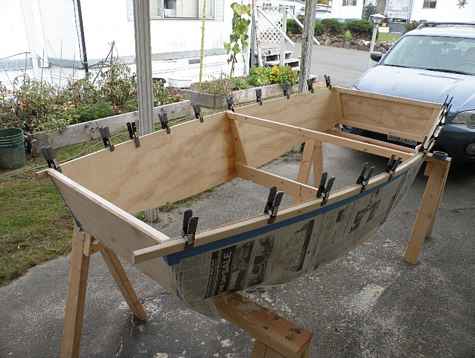
I glued on the chine logs today. The least mess I have made with glue so far. The glue got on the work but nothing else! I am ready to put on the bottom. I tried a new gluing technique. I drilled clearance holes in the plywood and thread size holes in the chine logs. I kept the clamps on until I finished screwing on the chine logs. I backed out the screws a little bit and put in 4D nails as spacers. I dammed the bottom slot with masking tape and used a syringe to drip the epoxy down the crack. Then I pulled the nails and tightened the screws.
10/29/2015
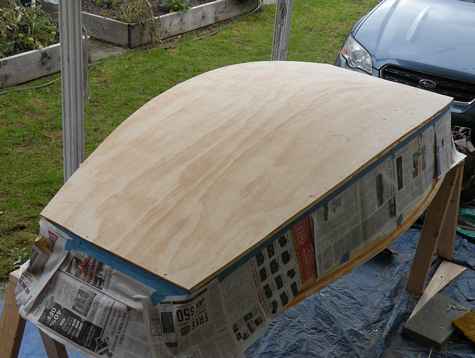
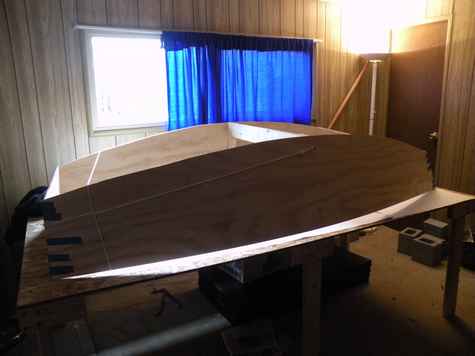
The bottom ready for epoxy. |
It's a BOAT!!! Now, there will be lots of sanding and faring (maybe 15 to 20 hours). When the epoxy cures, I could put it in the water and it would float but not to rush things. The more I work with epoxy, the less mess I make.
|